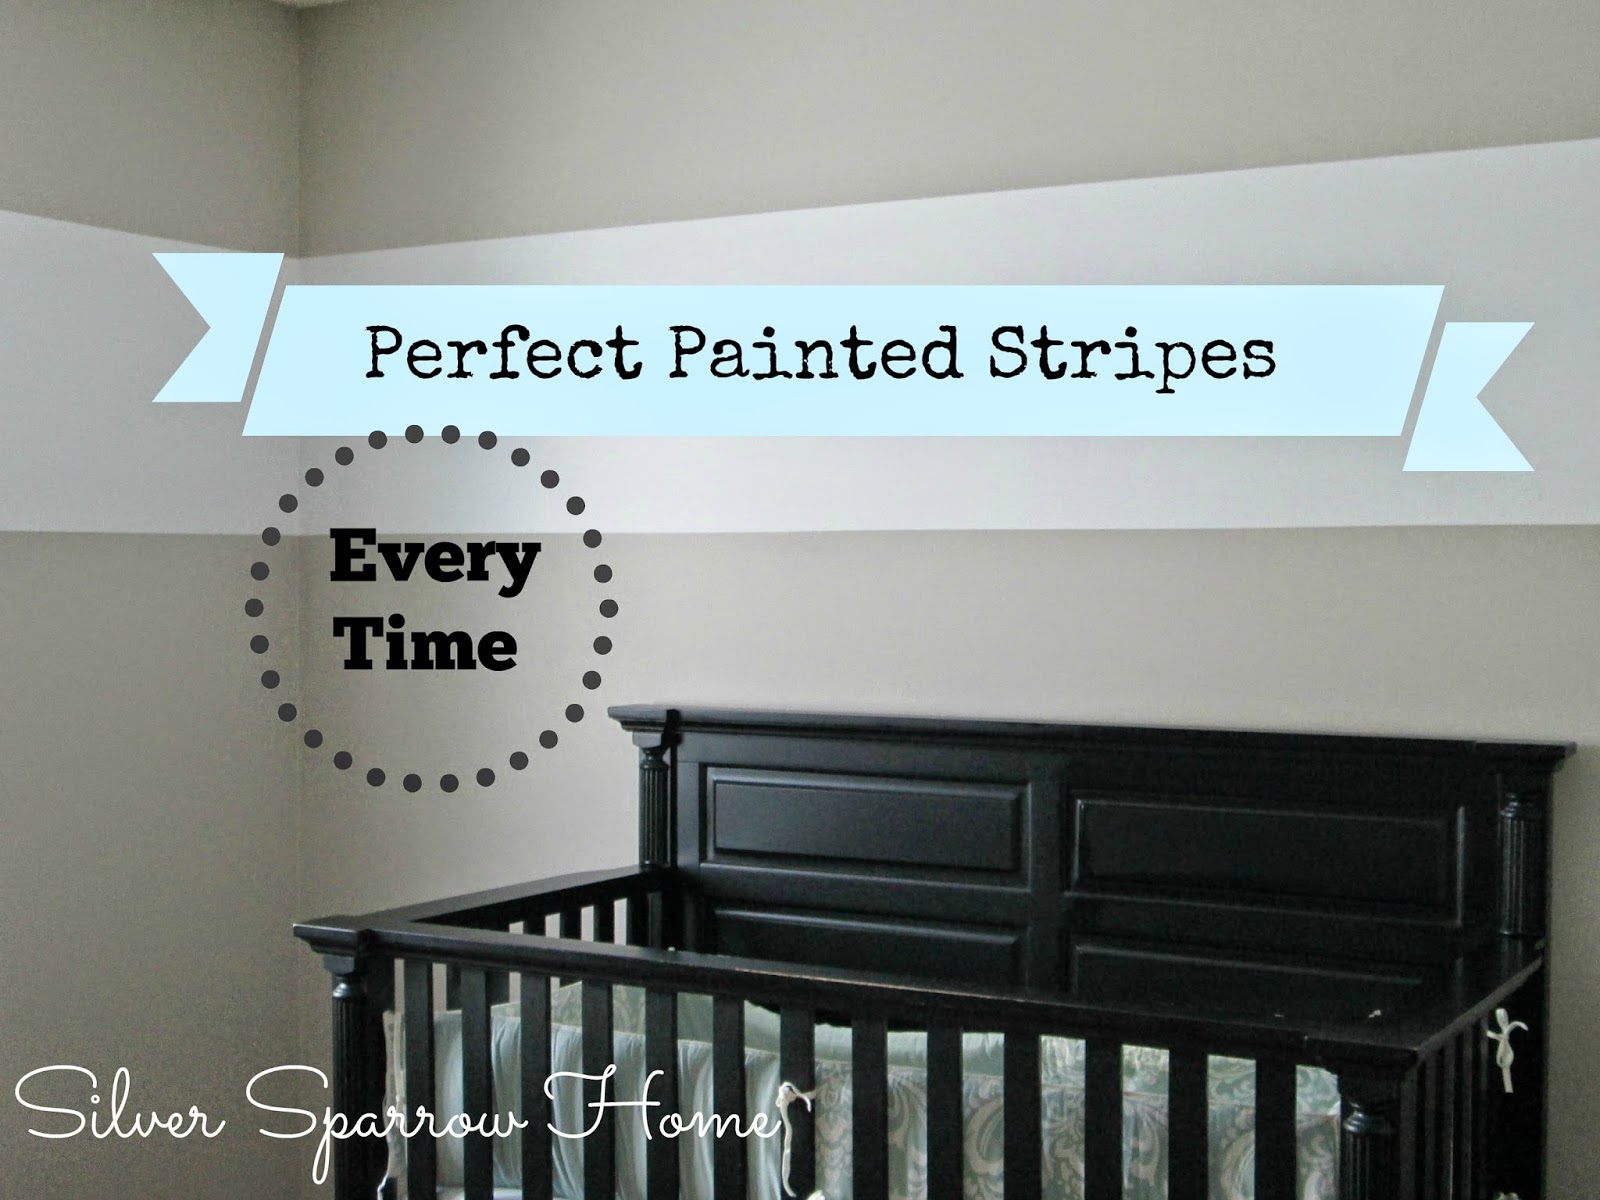
When we moved into our house, the second bedroom was . . . a little . . . bright.
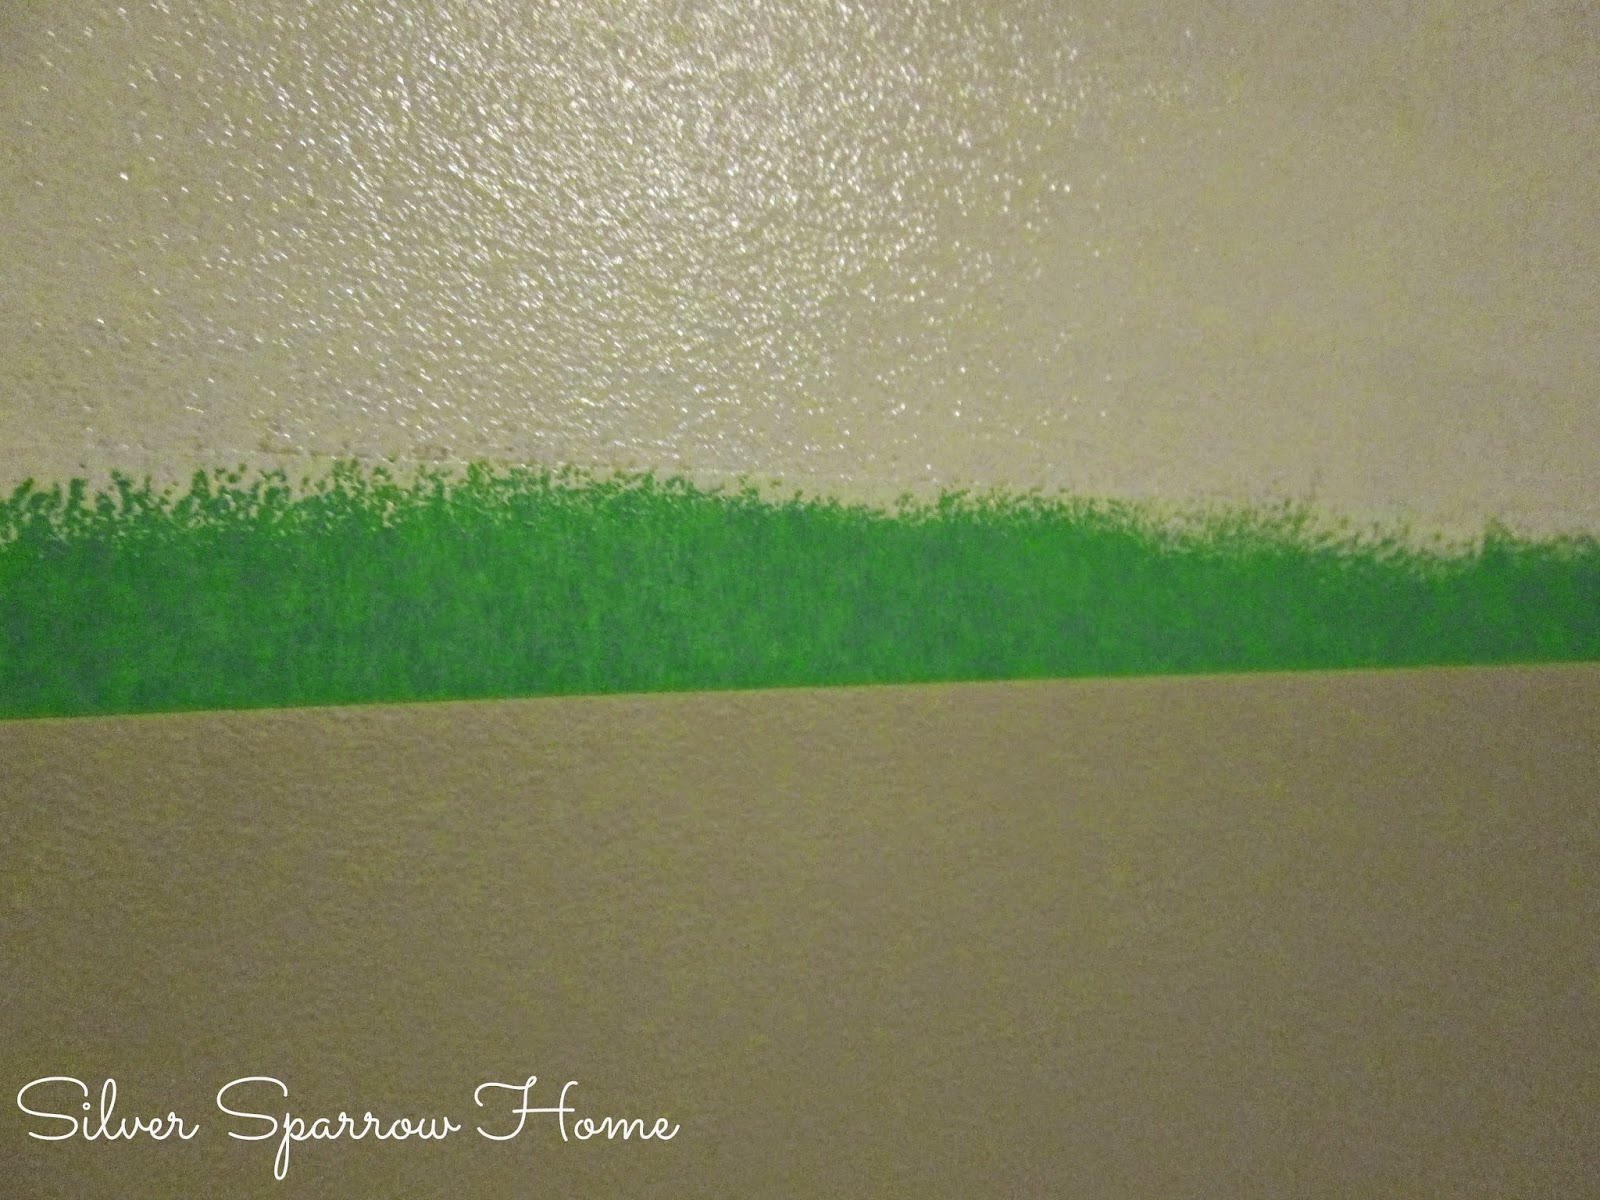
It was painted lime green and bubblegum pink - including the closet doors! It's a fun choice for a little girl, but it really wasn't our style and was much too bright for me.
It quickly became a dumping ground for unpacked boxes, our daughter's crib when she outgrew it, and random things we just didn't know where else to store. I think partly because it was an empty room we didn't have a need for, and partly because we always kept the door closed anyway due to the blinding paint colors, so we felt it was ok to pile up things we didn't want people to see either.
It wasn't until our second daughter was on the way that we finally decided to clear out the room and tackle the paint job. I chose one of my all-time favorite colors - Revere Pewter by Benjamin Moore. It's a soft grey, but in this room it reads much warmer, almost a tan.
I was inspired by the Sweet Lambie nursery from Pottery Barn, to try adding a stripe horizontally around the room. While I like the stitched detail on the inspiration photo, I wanted to keep mine simple both because of time and because I just like things simple. I felt like a wide stripe running around the room would be "busy" enough for me without adding any more detail to it.
My husband patiently did all of the calculating, measuring, and marking out where the stripe needed to be, and we worked together to apply the painter's tape.
I have worked with painter's tape several times in the past and I was determined to get a nice sharp line so I wouldn't have to go back with an artist's brush and do touch ups. I've learned a few tips and tricks that help with getting that crisp line over the years, and I thought I would share them.
5 Tips For Getting A Perfectly Crisp Tape Line
1. Make sure the paint you are applying tape over is cured. Not dry, cured. Paint feels dry to the touch very quickly, but it's not fully cured. It may feel dry, but it won't hold up to hard scrubbing, bumps, or applying painter's tape very well. Every source seems to have a different number of days they recommend to allow paint to cure - anywhere from 5 to 30 days. I usually allow about a week to ten days, mostly because I'm impatient and because that seems to be plenty of time as long as the room is well ventilated and warm.
2. After applying the tape, go over it with a credit card or a rubber scraper. Very gently, just to remove any air bubbles, wrinkles and to get it nicely adhered.
3. Apply a thin coat of the base color over top of the tape. In my case, it was the Revere Pewter.
This seals off the tape and ensures that any bleedthough that happens is the wall color anyway . . . so, eliminating bleedthrough altogether!
It looks lighter in the photo above because it's wet paint, but here you can see I applied a layer of the wall color over the tape to help seal it off before applying the white.
4. Apply your second paint color ( in my case it was Decorator's White from Benjamin Moore) and while the second coat is still wet, remove the tape. Don't wait for it to dry!
5. When pulling the tape, pull toward the wet paint and not away from it. When removing the tape below the stripe, I pulled in an upward motion. When pulling the tape on top of the stripe, I made sure to pull in a downward motion, toward the wet painted stripe and NOT toward the dry wall color.
All of these little tips help to give you the crisp, straight lines that painter's tape is supposed to give. So often people complain that tape doesn't work, or that it bleeds through, when really it was their lack of prep work or not following these steps that gave them a bad result and had nothing to do with the tape itself.
When I removed the tape, sure enough I had perfectly crisp lines with zero bleedthrough! I did a little happy dance surrounded by giant balls of wadded up painter's tape when it came off so perfectly!
I finished off the room by adding some homemade artwork and a DIY crystal mobile, the directions for which I found here.
I love how it turned out; I think aside from her DIY name art, the stripe is my favorite part of Emma's room. And the best part is that all it cost me was a quart of paint!


No comments:
Post a Comment